Your Guide To Maintaining Roofing Records
Your Guide To Maintaining Roofing Records: Photogaphic evidence
For every roof refurbishment project you undertake, you should be creating and maintaining records that will demonstrate your compliance with building regulations and all relevant industry standards. While these records are for your own files, they can be requested at any point during a building inspection, either by the NFRC Competent Person Scheme inspectors or Local Authority Building Control. Even if we don’t ask for them, it’s always best to be prepared.
Our technical team have outlined the best approach to maintaining good records, along with a downloadable checklist to keep you on track.
Photographic evidence
It is vital to take photos throughout your project, particularly of areas that inspectors would be unable to see during an inspection. Here’s what our CPS inspectors will want to see photos of:
1. Pre-works condition
- Existing roof condition before work commences Photos showing the extent of defects (damaged tiles, rotten timbers, inadequate insulation, etc.).
2. Structure & Roof Deck
- Exposed rafters, joists, and timbers once old covering is stripped, showing structural soundness. Replacement or reinforcement works (if any) on the roof deck or timbers.
3. Insulation (Part L compliance)
- Clear photos of insulation installed to current industry standards. Coverage across the entire roof area. Where insulation is between and over rafters, evidence of vapour control layers and ventilation gaps.
4. Breathable Membrane / Underlay
- Installation of breathable roofing underlay, with overlap and drape shown. Photos of eaves protection and underlay support trays.
5. Ventilation (Part C & L compliance)
- Eaves vents, ridge vents, or tile vents installed for airflow. Close-ups to demonstrate continuous ventilation paths are unobstructed.
6. Fire & Safety Provisions (where relevant)
- Fire protection requirements (fire barrier/stop) location and thickness Site safety equipment used on the project.
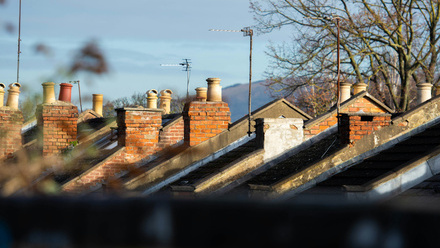
7. Weatherproofing & Detailing
- Flashings around chimneys, valleys, dormers, and roof abutments. Lead, GRP, or proprietary flashing installed correctly. Soakers and upstands at junctions. Fixings of tiles/slates according to BS 5534.
8. Finishing Works
- Photos of the completed roof covering, ridges, verges, and hips. Evidence of compliance with manufacturer installation guides (especially for new products).
9. Waste Disposal / Recycling (optional, but good practice)
- Evidence of old roofing materials being disposed of responsibly (skip photos, recycling certificates).
Tips for managing your photographic evidence-base
- Time-stamp all photos (if you take your photos on your mobile, check the settings as this can be done automatically for you).
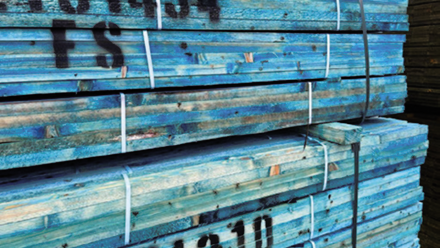
- Take a mix of wide and close-up shots to show both overall compliance and specific detail (e.g. material manufacturer labels)
- Take time to name your photos in a way that makes sense to each project, and save them in a logical order.
- Use online applications to maintain construction photo files
Construction photo documentation creates an audit trail, a complete path that documents the progress of your project and potentially highlights any issues.
Go back and review what has been done and by whom. If clients have complaints, use audit trails to provide evidence.
Download our checklist
We have created a checklist to help you keep adequate records. Download it here.